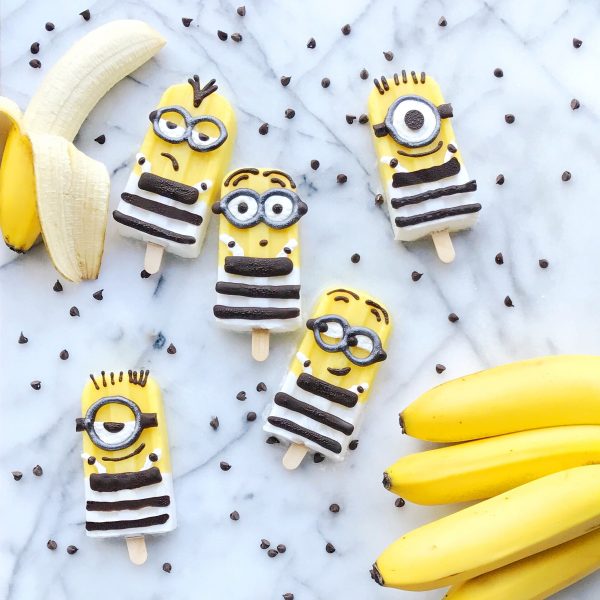


Chill Out – How to Photograph Frozen Treats


I have never been one to find baking relaxing. It might be my worrisome personality, or the fact that one slight miscalculation can cause an entire tray of cupcakes to look like deflated pool floats, but despite my love for decorating baked goods, it’s not my go to when I want to chill out. I’d honestly rather take a mineral bath, read a book, or just veg out watching endless episodes of Full House :). When I feel like making something stress-free though my mind immediately goes to frozen treats – popsicles, ice cream, or one of my newer loves, raw cakes (which I usually keep stocked in my freezer so I always have some on hand). While frozen treats are an almost fool proof way to try out new methods and flavor combinations, they aren’t as simple to photograph. In fact, I think one of the questions I get asked the most is how I manage to photograph my frozen treats without them melting into puddles of pieces, so I thought I would write a post to share all of the tips and tricks I’ve learned in hopes that it can help you too. Although I did once make “frosting ice cream” for a giveaway image (I had seen a bunch of IG posts talking about how realistic it was and just had to try it out myself lol), I can promise you that all of the frozen treats you see on my blog are real.
- I always start with a stone surface, and 15-20 minutes before I place my frozen food on top I cover the entire stone with bags of frozen fruit and veggies. The stone stays cold for quite awhile which in turn slows down the melting of your treats.
- I prep everything before removing the frozen food from the freezer. That means I get any props out, and I decorate and re freeze whatever I’m photographing that day until just before I am ready to take the picture. The first few times I made popsicles I would try to lay them on the marble right out of the mold and then meticulously add all of the pieces, cutting and decorating as I went, and by the time I got the last one set up the first one was already half gone hehe, so now I’ve learned to start earlier. If I’m making popsicles, I get them out of the mold and place them onto a baking sheet lined with wax paper to decorate. I can then keep the tray in the freezer, and just pull out one at a time to work with. When I’m decorating ice cream, I place the scoops on the cones, and then place them in the freezer nestled on top of milk bottles to keep them upright. I don’t decorate the ice cream until I lay it onto my stones, so by freezing the individual scoops I buy myself a bit of extra time.
- Use ice – popsicles placed on top of a bowl of ice look pretty and the ice keeps them cool for a bit longer. You can also keep them on top of a bowl of ice off to the side of the shot while you are tweaking your styling and laying everything out.
- Work quickly! This probably is an obvious one lol, but we all have days where the shot just isn’t coming along, so for times like that I like to transfer my treats back to the freezer for at least 15 while I figure out my layout.
Have fun with the fact that they melt! Even with all of these tricks up my sleeve, sometimes it ends up taking me longer than I planned and some of the things melt, but I’ve learned to embrace it. A little bit of melt makes the food look real and can even add to the vision like when you see crumbs around a piece of cake. Do you have any great tips for photographing frozen food? I would love to hear them!


join the mailing list!
get recipes and other delicious tidbits sent to your inbox!