CoComelon Mini Vehicle Fruit and Yogurt Popsicles

*This post was created in collaboration with Jazwares. All words, images, and opinions are my own.
If you have kids under the age of 3, they’re probably huge fans of the adorable show CoComelon :). With lots of music, learning, and friends, the show’s main character, baby JJ, gets into tons of fun daily adventures. This month, CoComelon is releasing special episodes to celebrate JJ’s birthday and I’ve joined with Jazwares to create a cute and refreshing treat perfect for enjoying after a day of your toddler’s own adventures (or while watching the show)!
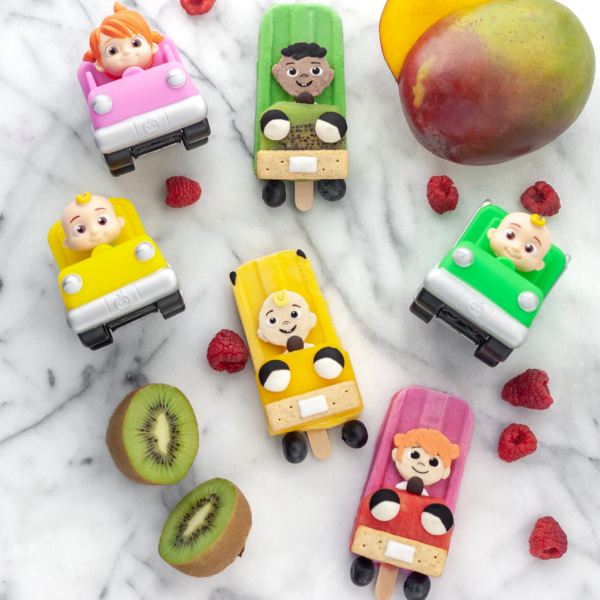
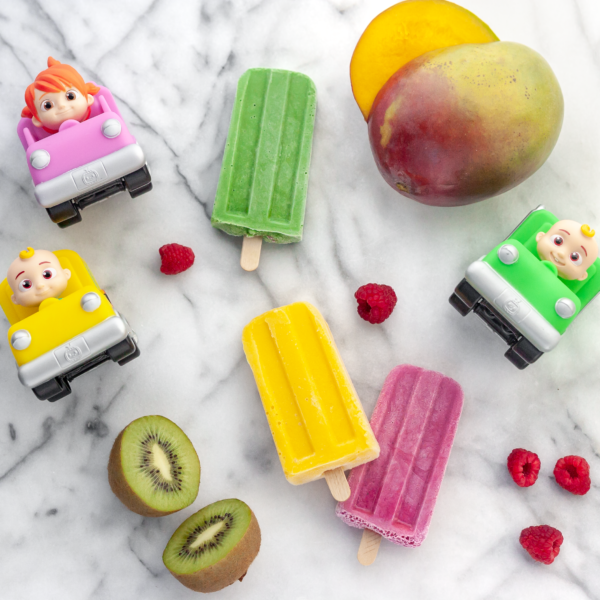
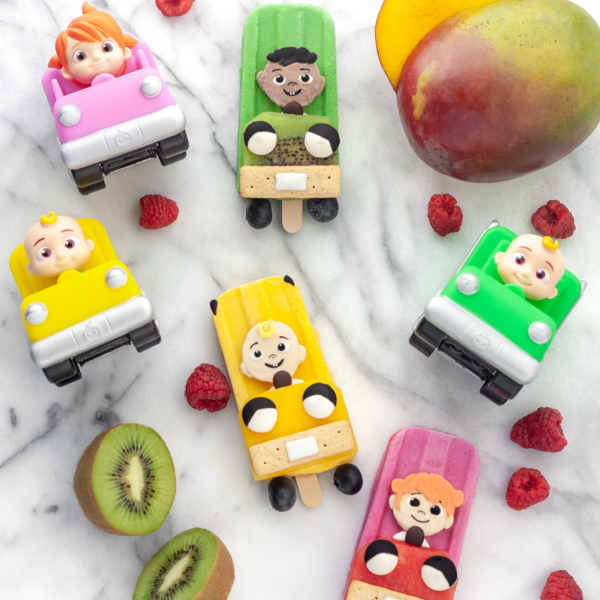
These fruit and yogurt popsicles were inspired by the CoComelon Mini Vehicle toys you see above. Each flavor is made with just a handful of ingredients, naturally colored, and the decorations can easily be scaled up or down depending on time and what you have on hand. I used toddler-friendly snacks to simplify, but you could also enjoy the pops undecorated and they’d be just as delicious.

Ingredients: (makes 10+ popsicles, depending on how much liquid you add)
Mango Yogurt & Green Smoothie Popsicles: JJ & Cody
3/4 cup full-fat Greek yogurt
3 Tablespoons heavy cream
Milk or water, as needed for blending (I used about 1/2 cup)
1-2 1/2 tablespoons honey, sweeten to taste
2 cups fresh or frozen mango chunks
3/4 cup baby spinach, packed
Raspberry Yogurt Popsicles: YoYo
1/3 cup full-fat Greek yogurt
1 1/2 Tablespoons heavy cream
Milk or water, as needed for blending (I used about 1/4 cup)
1-1 1/2 tablespoons honey, sweeten to taste
1/2 cup fresh or frozen raspberries
CoComelon Decorations & Tools:
10-cavity frozen pop maker
10 wooden popsicle sticks (food-safe)
Full-fat Greek yogurt
Natural food coloring powders or liquid (fruit & veggie powders work well) *See color tips below
Unsweetened cocoa powder (optional, for coloring yogurt)
Milk/dark & white chocolate chips or melting wafers
Watermelon, pink pitaya, or red/pink apple (you only need enough to make a few slices)
Kiwi, green pear, green apple, or honeydew melon (you only need enough to make a few slices)
Mango or pineapple (you only need enough to make a few slices)
Blueberries
Vanilla wafers
Honey graham sticks
White or yellow yogurt snacks
Toothpicks
Wax paper
2 inch square cookie cutter
Helpful Tips:
*An adult should assist with all cutting and any time you are using the microwave to melt chocolate.
Prep all of the decorations ahead of time so that once the popsicles are frozen you can just transfer them to the top and enjoy! A toothpick makes it much easier to pick up and place the tiny chocolate pieces (slightly wet the tip of the toothpick, if needed).
Simplify the popsicle decorations by using what you have on hand – you can use an assortment of fruit for the front of the cars, and lots of different toddler-friendly cereals and snacks for the light, wheels, bumpers, and CoComelon characters. You could also skip the yogurt decorations and use little pieces of fruit and chocolate for the hair, and color the faces and details onto the vanilla wafers with edible markers.
To make sure the popsicles are frozen solid, remove them from the mold once they are set. Then place them on top of a sheet of wax paper, in the freezer, for at least 30 minutes before transferring to either a zip-top freezer bag or a airtight container. Keep the popsicles in the freezer until just before serving.
Color Tips:
Adding ground turmeric to the mango popsicles will create more of a golden yellow hue.
Pink pitaya powder will brighten and cool the hue of the raspberry pops to create fuchsia.
Butterly pea powder or blue spirulina can be added to the green smoothie pops to adjust the shade of green.
Add more yogurt anytime you need to lighten a color (remember that the saturation will deepen once frozen).
Directions:
- Add all of the mango yogurt and green smoothie ingredients to a high-speed blender or food processor, in the order listed, minus the spinach. Blend until smooth, adding more liquid as needed.
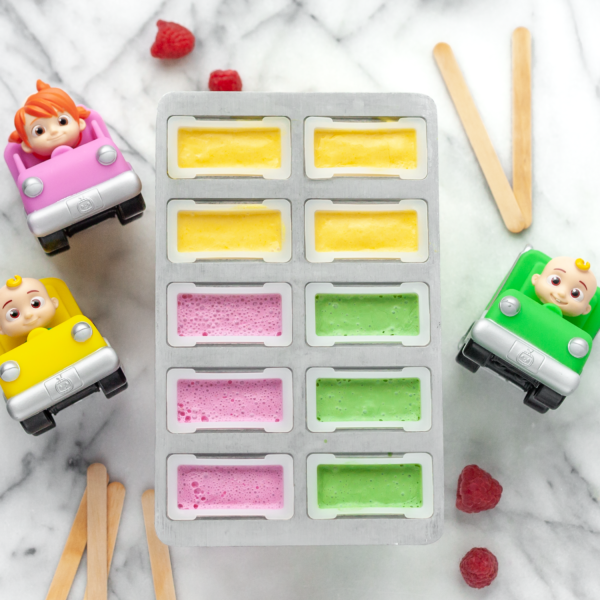
- Transfer half of the popsicle mixture to a liquid measuring cup and carefully pour into 3-4 of the popsicle cavities, filling almost to the top. You can also stir in turmeric powder before pouring if you want to adjust the color (see color tips above).
- Add the spinach to the remaining smoothie mixture and blend until smooth. Use butterfly pea powder or blue spirulina, if you’d like, to adjust the shade of green.
- Transfer to a liquid measuring cup and repeat pouring as you did for the mango popsicles.
- Clean out the blender or food processor, and add all of the raspberry yogurt popsicle ingredients, in the order listed. Blend until smooth adding liquid as needed.
- Transfer to a liquid measuring cup and pour into the remaining popsicle cavities, filling almost to the top. Any leftover popsicle mixture can be enjoyed as a smoothie :). Gently tap the entire mold on the counter a few times to release any air bubbles that may have formed while blending.

- Transfer the popsicle mold to the freezer and freeze for at least 90 minutes before placing the cover over top and adding the wooden popsicle sticks. This is so that the sticks don’t float up and freeze off center (if your popsicle mold cover has built in sticks you can add those right away instead of waiting).
- Place the popsicle mold back into the freezer and continue to chill until completely frozen, at least 3 1/2 hours more or overnight.
- While waiting on the popsicles we can prep the decorations! I made the face details, Cody’s hair, and license plates by creating chocolate transfers with the white and milk /dark chocolate. To do this, melt the chocolate individually, in microwave-safe bowls, for 30-seconds at 50% power stirring after each interval, until smooth. Use a toothpick dipped into the melted chocolate to “draw” the details onto a sheet of wax paper and allow to set. You could also just use mini sprinkle eyes (watch with very small children) and skip the license plates. A chocolate cookie could be broken up to create Cody’s hair.
- The bumpers are just honey graham sticks, the headlights were made using banana and mango freeze-dried yogurt bites. I just dipped the bottoms into melted white chocolate (so they wouldn’t melt on top of the fruit) and rolled the top half in the dark chocolate to create the headlight look.
- To create the front of each car, use the square cookie cutter to cut out a piece of red/pink, yellow and green fruit.
- I used vanilla wafers for the heads for each child. Mine are covered in colored yogurt, but you could easily use edible markers to draw the details onto each and color them in to match each character above.
- If you’d like to use the yogurt to decorate, divide Greek yogurt into 4 small bowls, add a little yellow and red coloring to one for JJ & YoYo’s skin tones, chocolate powder to another for Cody’s skin tone, mix more yellow and red to create a bright orange for YoYo’s hair to the third, and a little yellow to the fourth for JJ’s hair. Transfer each to either a piping bottle (this is what I like to use) or a small zip-top bag.
- About 45 minutes before serving the popsicles, run the bottom of the mold under warm water to release the pops. Transfer them to a sheet of wax paper in the freezer for 30 minutes more. This will make sure they are fully set so they don’t melt right away while decorating.
- Once ready, remove one pop at a time, place it on a plate and add the fruit car front, bumper, headlights, vanilla wafer head and use the yogurt to decorate (smoothing with the back of a spoon, as needed). Transfer the face details to the top, add the yogurt or chocolate hair (you could use fruit licorice for YoYo and JJ’s hair if your child is old enough to safely eat it). Cut chocolate chips in half for the steering wheels. Stand 2 blueberries up on their side, on either side of the popsicle stick, for the wheels and they’re ready to enjoy!!

Decorated popsicles are best eaten right away. Any undecorated pops can be stored in freezer-safe zip-top bags or airtight containers for a few days, or individually wrapped in plastic wrap and placed into containers for longer. Please let me know if you try this tutorial, I would love to see your version :).
join the mailing list!
get recipes and other delicious tidbits sent to your inbox!