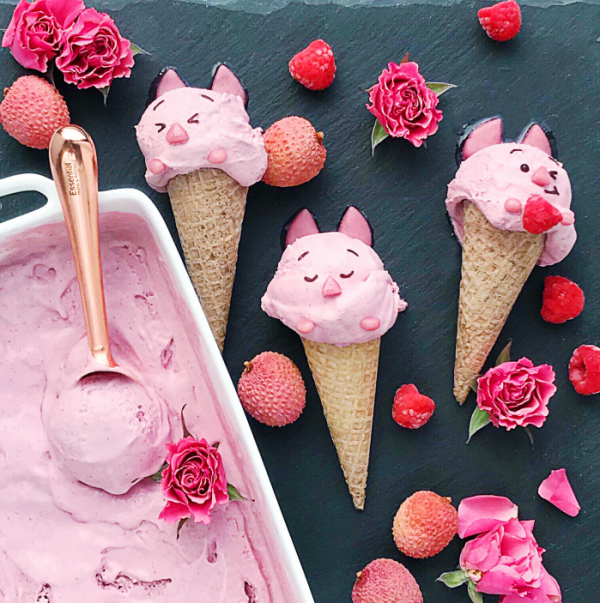
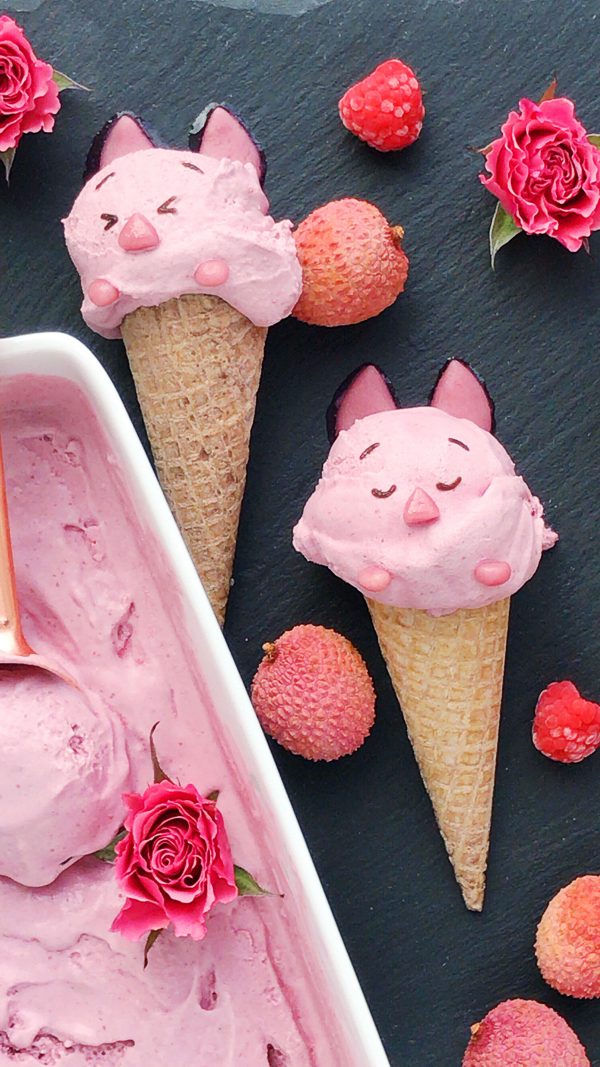
Piglet Raspberry Rose Lychee Ice Cream

There is nothing I love more than a scoop (or 3) of cold, creamy ice cream on a sweltering summer day, but the bloat that followed from the regular stuff always made the joy short lived for me – until I discovered how to make it dairy free! Ever since I developed this ice cream base (made with coconut cream and coconut milk), I’ve been able to recreate the same velvety texture of the stuff I grew up with, and none of the ice crystals, or rock hard consistency that low sugar and diary free versions can be notorious for. No one wants to wait 30 -45 minutes for the ice cream to soften before eating it lol! Another plus is that this recipe is much easier than the milk or cream versions. There’s no ice bath involved, you just heat, blend, and churn (you can also go right from the blender to the freezer if you don’t have an ice cream machine, but you will want to stir the mixture every so often for the first few hours to keep it smooth).
On a recent Whole Foods run I discovered a fruit I’ve never tried before – lychees, and their slightly fragrant rose-like flavor gave me the idea for this ice cream. I added the raspberries for a bit of tartness, antioxidants, and that dreamy pink shade which worked out perfectly for one of my other favorite characters, Piglet :). Feel free to adjust any of the ingredients to your liking, as long as you keep the base the same it’ll turn out great every time. If you love lychees, I recommend doubling them to 1/2 cup.
Ingredients: (makes 1.5 quarts)
Ice Cream:
1 14oz can full fat coconut milk
1 14oz can coconut cream (I like Trader Joe’s brand, or else you will have to refrigerate the can upside down the night before)
Pinch sea salt
3/4 cup frozen raspberries
1/4 cup lychees, peeled and with seeds removed (You can increase this to 1/2 cup for more of a lychee flavor)
1 teaspoon pure vanilla extract
1 teaspoon rosewater
Juice of 1/2 a lemon
6-9 drops pure liquid Stevia extract (or 2-4 tablespoon pure maple syrup depending on how much sweetness you like)
Piglet Toppings:
Marzipan candy dough
1/4 teaspoon pink pitaya or beet juice (for coloring)
1/4 cup dark chocolate chips
1/2 teaspoon coconut oil
*All cutting should be done by an adult.

Directions:
- The chocolate details can be created in advance by melting the chocolate chips and coconut oil over a double boiler until smooth. Allow to cool to about room temperature, and then transfer to either a piping bag or small zip top bag, and pipe the faces onto a piece of wax paper. Allow them to set while you make the ice cream. You can also simply dip a toothpick into the melted chocolate and use it to “draw” the faces onto your piece of wax paper.
- To make the ice cream base, add the coconut milk and coconut cream (just the cream on top, not the liquid) to a small saucepan and bring to a simmer.
- Transfer the base to a high powered blender and blend with the salt, raspberries, lychees, vanilla, rosewater, lemon juice, and sweetener of your choice for at least one minute on high (be careful to watch the lid as you are using hot liquid).
- Move the ice cream mixture to a heat proof bowl, cover snugly with plastic wrap (I like to place the wrap so it touches the top of the mixture to prevent a “skin” from forming), and place in the refrigerator for at least 4 hours or overnight to cool. If you aren’t going to churn the ice cream you can now transfer it to a heat and freezer safe container (a small casserole dish or baking pan works well), and place it right into your freezer. You will want to stir the mixture every so often for the first few hours so no ice crystals form.
- When you are ready to make your ice cream, transfer it to an ice cream machine and churn following the manufacturer’s instructions.
- Eat immediately for a soft serve like texture, or place in a freezer safe container, and freeze for at least 2 hours to set into ice cream.
- To turn your scoops into Piglet, color a 1-2 inch section of marzipan with your beet juice or pink pita. Form triangles for the snouts, and teardrop shapes for the ears (as well as tiny circles for the little hands if you’d like to add them), add the chocolate details, and enjoy!
join the mailing list!
get recipes and other delicious tidbits sent to your inbox!